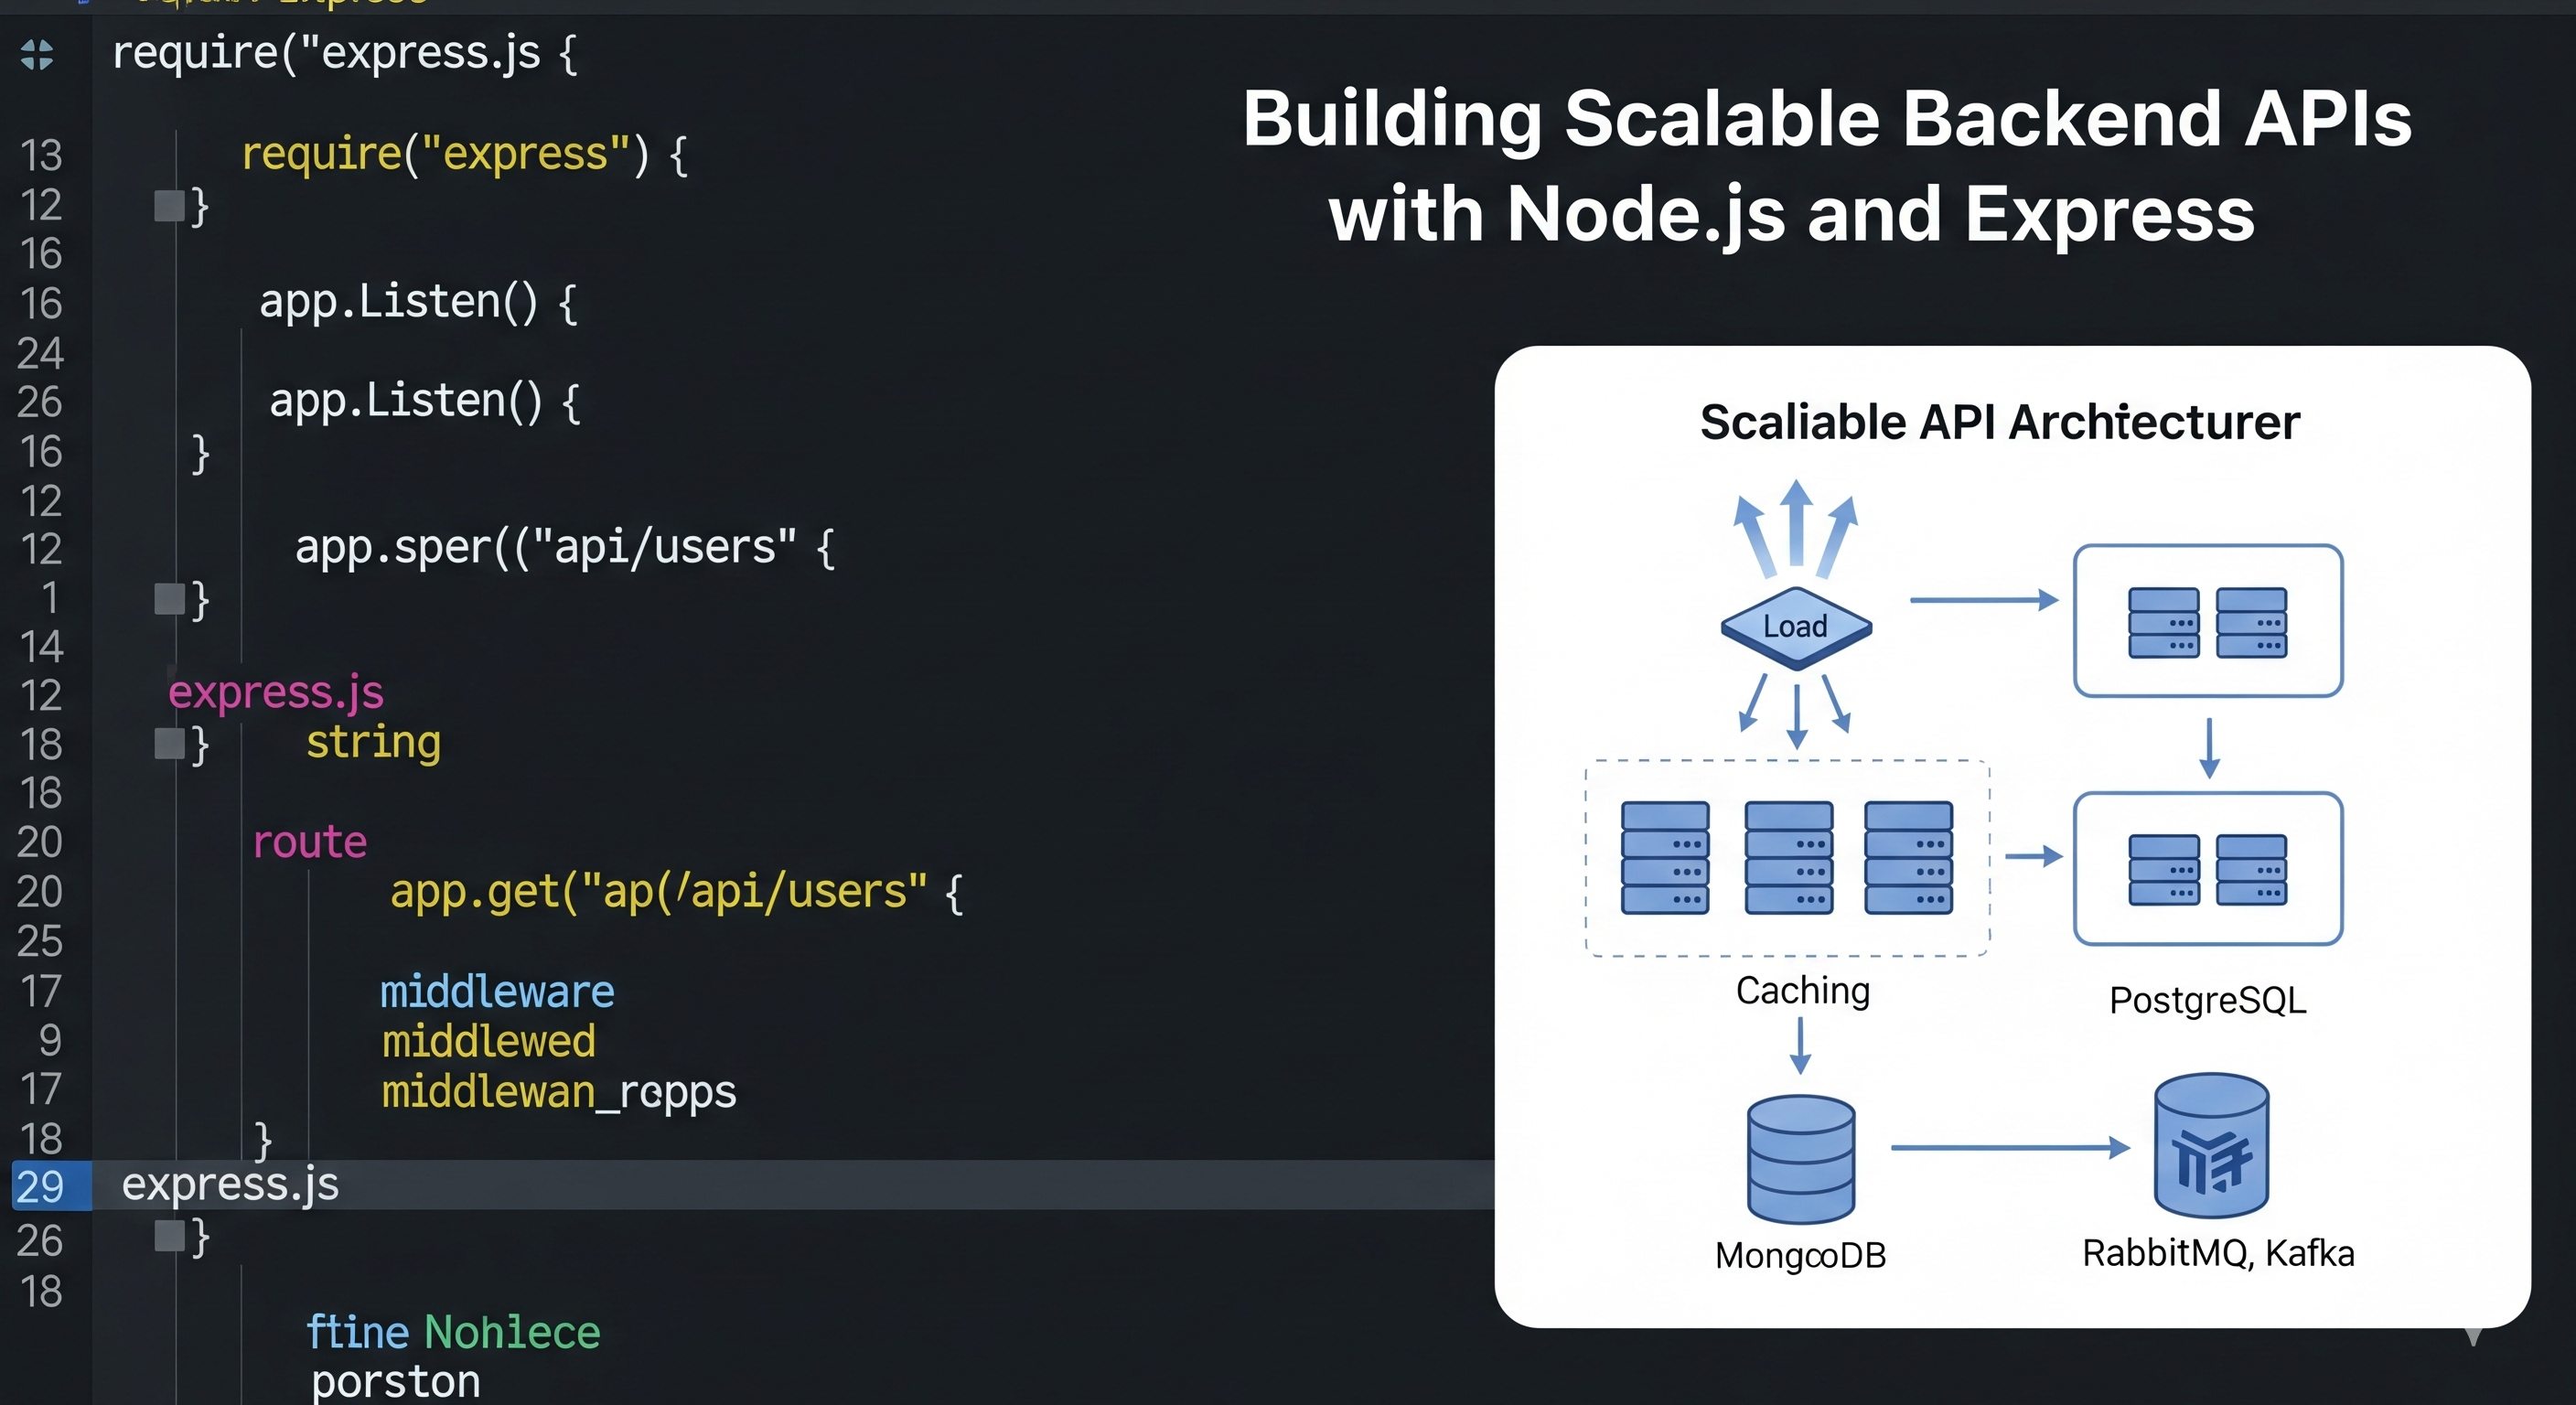
Building Scalable Backend APIs with Node.js and Express
Learn how to build secure, maintainable, and scalable backend APIs with Node.js and Express, covering architecture, validation, authentication, error handling, testing, and production practices.
Building Scalable Backend APIs with Node.js and Express
Node.js and Express provide a practical foundation for building modern backend APIs.
Node.js gives you a JavaScript runtime for server-side applications, while Express provides routing and middleware for building HTTP APIs without imposing a large application architecture.
However, creating a scalable backend is about more than creating routes.
A production-ready API needs:
- clear project architecture;
- predictable API contracts;
- input validation;
- authentication and authorization;
- centralized error handling;
- secure configuration;
- efficient database access;
- logging and monitoring;
- automated tests;
- rate limiting;
- documentation;
- reliable deployment.
This guide walks through the fundamentals and shows how to structure a Node.js + Express backend that can grow beyond a small prototype.
Why use Node.js for backend development?
Node.js is widely used for APIs, web applications, real-time applications, automation, and developer tooling.
Important characteristics
| Feature | Benefit |
|---|---|
| JavaScript runtime | Use JavaScript across frontend and backend |
| Asynchronous I/O | Efficiently handles many I/O-bound operations |
| Large ecosystem | npm provides a large collection of packages |
| Event-driven architecture | Useful for network-heavy applications |
| Real-time capabilities | Works well with WebSockets and libraries such as Socket.IO |
| Streaming APIs | Useful for files, HTTP streams, and other data flows |
Node.js is particularly effective for applications that spend much of their time waiting for network, database, or file-system operations.
It is not a reason to ignore algorithmic complexity or CPU-heavy workloads. Expensive synchronous operations can still block the event loop.
1. Set up a Node.js + Express project
Start with a supported Node.js LTS release.
Create a project:
mkdir my-api
cd my-api
npm init -y
Install Express and a few commonly useful dependencies:
npm install express cors helmet dotenv
For development:
npm install -D nodemon
If your application uses MongoDB:
npm install mongoose
For request logging, you can use a structured logger such as Pino or Winston rather than relying entirely on console.log.
2. Create a basic Express server
A minimal Express application can start with:
import express from "express";
import cors from "cors";
import helmet from "helmet";
import "dotenv/config";

const app = express();
const PORT = process.env.PORT || 3000;

app.use(helmet());
app.use(cors());
app.use(express.json());

app.get("/api/health", (req, res) => {
  res.json({
    status: "ok",
    timestamp: new Date().toISOString()
  });
});

app.listen(PORT, () => {
  console.log(`API listening on port ${PORT}`);
});
For a production API, don't leave CORS completely open unless that is actually required.
Configure allowed origins according to your application's architecture.
For example:
app.use(
  cors({
    origin: process.env.FRONTEND_URL,
    credentials: true
  })
);
3. Use environment variables
Configuration and secrets should not be hardcoded into source code.
Avoid:
const mongoUri =
  "mongodb+srv://user:[email protected]/app";
Instead:
const mongoUri = process.env.MONGODB_URI;
A local .env file might contain:
PORT=3000
MONGODB_URI=mongodb://localhost:27017/myapp
JWT_SECRET=replace-this-in-development
FRONTEND_URL=http://localhost:5173
Never commit real credentials.
Use:
.env
.env.*
!.env.example
An .env.example file can document the required variables:
PORT=3000
MONGODB_URI=
JWT_SECRET=
FRONTEND_URL=
In production, use your hosting platform's environment variables or an appropriate secret-management system.
4. Organize the backend by responsibility
A small application can start with a simple structure:
src/
├─ config/
├─ controllers/
├─ middleware/
├─ models/
├─ routes/
├─ services/
├─ utils/
├─ app.js
└─ server.js
One possible responsibility split is:
| Directory | Responsibility |
|---|---|
config/ | Configuration and external service setup |
controllers/ | HTTP request/response handling |
middleware/ | Authentication, validation, errors, logging |
models/ | Database models |
routes/ | API route definitions |
services/ | Business logic and external integrations |
utils/ | Small reusable helpers |
app.js | Express application configuration |
server.js | Process startup and server lifecycle |
For larger applications, feature-based organization can also work well:
src/
├─ modules/
│  ├─ users/
│  │  ├─ user.controller.js
│  │  ├─ user.model.js
│  │  ├─ user.routes.js
│  │  └─ user.service.js
│  │
│  └─ jobs/
│     ├─ job.controller.js
│     ├─ job.model.js
│     ├─ job.routes.js
│     └─ job.service.js
│
├─ middleware/
├─ config/
└─ server.js
There is no single correct structure. The important thing is to keep responsibilities clear.
5. Separate the Express app from the server
Separating application configuration from server startup makes testing easier.
For example:
// app.js

import express from "express";
import helmet from "helmet";

const app = express();

app.use(helmet());
app.use(express.json());

app.get("/api/health", (req, res) => {
  res.json({ status: "ok" });
});

export default app;
Then:
// server.js

import "dotenv/config";
import app from "./app.js";

const PORT = process.env.PORT || 3000;

app.listen(PORT, () => {
  console.log(`Server listening on port ${PORT}`);
});
Tests can import app without automatically starting a network server.
6. Connect MongoDB
If you're using MongoDB, Mongoose is a common ODM for Node.js applications.
A modern connection setup can be simple:
import mongoose from "mongoose";

export async function connectDatabase() {
  try {
    await mongoose.connect(process.env.MONGODB_URI);

    console.log("MongoDB connected");
  } catch (error) {
    console.error("MongoDB connection failed", error);
    process.exit(1);
  }
}
Then call it during application startup:
import "dotenv/config";
import app from "./app.js";
import { connectDatabase } from "./database.js";

const PORT = process.env.PORT || 3000;

await connectDatabase();

app.listen(PORT, () => {
  console.log(`Server listening on port ${PORT}`);
});
Avoid opening a new database connection for every HTTP request.
7. Define database models carefully
A Mongoose model might look like:
import mongoose from "mongoose";

const userSchema = new mongoose.Schema(
  {
    name: {
      type: String,
      required: true,
      trim: true
    },

    email: {
      type: String,
      required: true,
      unique: true,
      lowercase: true,
      trim: true
    },

    passwordHash: {
      type: String,
      required: true
    }
  },
  {
    timestamps: true
  }
);

export const User = mongoose.model("User", userSchema);
Avoid storing plaintext passwords.
Store a password hash produced by a password-hashing algorithm such as Argon2 or bcrypt.
8. Build RESTful routes
A REST-style API should use HTTP methods consistently.
| Method | Example | Purpose |
|---|---|---|
GET | /api/users | List users |
GET | /api/users/:id | Get one user |
POST | /api/users | Create a user |
PATCH | /api/users/:id | Partially update a user |
DELETE | /api/users/:id | Delete a user |
For example:
import { Router } from "express";
import {
  listUsers,
  getUser,
  createUser,
  updateUser,
  deleteUser
} from "../controllers/user.controller.js";

const router = Router();

router.get("/", listUsers);
router.get("/:id", getUser);
router.post("/", createUser);
router.patch("/:id", updateUser);
router.delete("/:id", deleteUser);

export default router;
Then mount it:
app.use("/api/users", userRoutes);
This keeps route definitions separate from business logic.
9. Keep controllers focused
A controller should primarily handle the HTTP layer.
For example:
export async function listUsers(req, res, next) {
  try {
    const users = await User
      .find()
      .select("name email createdAt")
      .lean();

    res.json({
      data: users
    });
  } catch (error) {
    next(error);
  }
}
The controller can delegate complicated business logic to a service:
export async function createUser(data) {
  // Business logic
}
This keeps large applications easier to test and maintain.
10. Validate incoming data
Never assume that request data is valid.
A request such as:
POST /api/users
might contain:
{
  "name": "John",
  "email": "invalid",
  "password": ""
}
Validate it before using it.
Libraries such as Zod, Joi, or Yup can help.
For example with Zod:
import { z } from "zod";

export const createUserSchema = z.object({
  name: z.string().min(1).max(100),
  email: z.string().email(),
  password: z.string().min(8)
});
Then:
const result = createUserSchema.safeParse(req.body);

if (!result.success) {
  return res.status(400).json({
    error: "Invalid request data",
    details: result.error.flatten()
  });
}
Validation should happen on the server even if the frontend already validates the form.
11. Use consistent API responses
A consistent response structure makes frontend development easier.
For example:
Success
{
  "data": {
    "id": "123",
    "name": "John"
  }
}
Error
{
  "error": {
    "code": "VALIDATION_ERROR",
    "message": "Invalid request data"
  }
}
Avoid returning completely different error formats from every endpoint.
A consistent API contract makes the backend easier to consume and document.
12. Handle errors centrally
Don't repeat large error-handling blocks in every route.
Create centralized error middleware:
export function errorHandler(error, req, res, next) {
  console.error(error);

  if (res.headersSent) {
    return next(error);
  }

  const status = error.statusCode || 500;

  res.status(status).json({
    error: {
      code: error.code || "INTERNAL_SERVER_ERROR",
      message:
        status >= 500
          ? "Internal server error"
          : error.message
    }
  });
}
Register it after your routes:
app.use("/api/users", userRoutes);

app.use(errorHandler);
Don't expose stack traces, database errors, credentials, or other internal information in production responses.
13. Use meaningful HTTP status codes
HTTP status codes communicate what happened.
Common API responses include:
| Status | Meaning |
|---|---|
200 | Successful request |
201 | Resource created |
204 | Successful request with no response body |
400 | Invalid request |
401 | Authentication required or failed |
403 | Authenticated but not authorized |
404 | Resource not found |
409 | Conflict |
422 | Validation failure |
429 | Rate limit exceeded |
500 | Unexpected server error |
Use them consistently.
14. Authentication with secure session design
Authentication determines who the user is.
Authorization determines what the user is allowed to do.
These are separate concepts.
For browser-based applications, authentication can be implemented with secure, appropriately configured cookies or token-based systems depending on the architecture.
For example, if using a JWT:
import jwt from "jsonwebtoken";

const token = jwt.sign(
  {
    userId: user._id
  },
  process.env.JWT_SECRET,
  {
    expiresIn: "15m"
  }
);
Keep token lifetimes and refresh mechanisms appropriate for the application's threat model.
Never place secrets directly in source code.
15. Password hashing
Never store passwords directly.
Instead, hash them using a password-hashing algorithm such as Argon2 or bcrypt.
Example using bcrypt:
import bcrypt from "bcrypt";

const passwordHash = await bcrypt.hash(password, 12);
To verify a password:
const valid = await bcrypt.compare(
  password,
  user.passwordHash
);

if (!valid) {
  // Reject authentication
}
Password hashing is different from encryption.
You generally don't need to decrypt a password. You verify a submitted password against its stored hash.
16. Protect authenticated routes
Authentication middleware can verify the user's session or token before the request reaches the protected controller.
For example:
export async function requireAuth(req, res, next) {
  try {
    const user = await getAuthenticatedUser(req);

    if (!user) {
      return res.status(401).json({
        error: {
          code: "UNAUTHENTICATED",
          message: "Authentication required"
        }
      });
    }

    req.user = user;
    next();
  } catch (error) {
    next(error);
  }
}
Then:
router.get(
  "/profile",
  requireAuth,
  getProfile
);
17. Authorization matters too
Being authenticated does not automatically mean a user can perform every operation.
For example:
Authenticated user
        ↓
Can access own profile
        ↓
Cannot automatically access another user's private data
An authorization check might look like:
if (resource.ownerId.toString() !== req.user.id) {
  return res.status(403).json({
    error: {
      code: "FORBIDDEN",
      message: "You are not allowed to access this resource"
    }
  });
}
Always enforce authorization on the server.
18. Configure CORS carefully
CORS controls which browser origins can make cross-origin requests.
Avoid blindly using:
app.use(cors());
for a production API when the API should only be accessible by specific web applications.
Instead:
app.use(
  cors({
    origin: process.env.FRONTEND_URL,
    credentials: true
  })
);
If multiple trusted origins are required, validate them explicitly.
CORS is not an authentication system. It does not prevent non-browser clients from sending HTTP requests.
19. Add security headers
Helmet can configure several HTTP security headers.
import helmet from "helmet";

app.use(helmet());
Security headers are only one part of API security.
Also consider:
- authentication;
- authorization;
- input validation;
- rate limiting;
- secure cookies;
- CSRF protections where applicable;
- dependency updates;
- network security;
- secret management.
20. Add rate limiting
Public APIs can be abused through excessive requests.
A rate limiter can help protect sensitive endpoints.
Install:
npm install express-rate-limit
Example:
import rateLimit from "express-rate-limit";

const authLimiter = rateLimit({
  windowMs: 15 * 60 * 1000,
  limit: 20,
  standardHeaders: "draft-8",
  legacyHeaders: false
});

app.use(
  "/api/auth",
  authLimiter
);
Use different limits for different endpoint categories where appropriate.
Authentication, password reset, verification, and expensive operations often need stricter controls than ordinary read endpoints.
21. Prevent request abuse
Rate limiting is only one layer.
Also consider:
- maximum request body size;
- file upload limits;
- pagination limits;
- query complexity;
- expensive aggregation restrictions;
- timeouts;
- connection limits;
- resource-specific authorization.
For example:
app.use(
  express.json({
    limit: "1mb"
  })
);
Don't choose limits randomly. Base them on what your API actually needs.
22. Handle file uploads safely
File uploads require additional security considerations.
Never assume a file is safe just because the filename ends in .jpg.
Consider:
- MIME-type validation;
- file-size limits;
- generated filenames;
- malware scanning where appropriate;
- image processing;
- storage outside the application server when appropriate;
- access control;
- content-disposition headers.
For image-heavy applications, tools such as Multer and Sharp can be useful.
23. Use structured logging
Logs are essential for debugging production applications.
Instead of relying only on:
console.log("User logged in");
consider structured logging with tools such as Pino or Winston.
A structured log might contain:
{
  "level": "info",
  "event": "user.login",
  "userId": "123",
  "requestId": "abc123"
}
Never log:
- passwords;
- access tokens;
- refresh tokens;
- private keys;
- unnecessary personal information.
24. Add request IDs
A request ID makes it easier to trace one request across logs and services.
Conceptually:
Client request
      ↓
Request ID: abc123
      ↓
Express
      ↓
Controller
      ↓
Database
      ↓
Response
If an error occurs, the request ID can connect the logs from different parts of the system.
For distributed applications, this becomes especially useful.
25. Design APIs for pagination and filtering
Don't return thousands of records from an endpoint simply because the database contains thousands.
Instead:
GET /api/jobs?page=1&limit=20
or use cursor-based pagination:
GET /api/jobs?limit=20&cursor=...
Also validate pagination parameters:
const limit = Math.min(
  Number(req.query.limit) || 20,
  100
);
Never allow users to request unlimited amounts of data accidentally.
26. Optimize database queries
Backend scalability depends heavily on database behavior.
For MongoDB:
- create indexes around real query patterns;
- use projections;
- avoid unbounded documents;
- use appropriate pagination;
- analyze slow queries with
explain(); - avoid unnecessary database calls.
For example:
const users = await User
  .find({ active: true })
  .select("name email")
  .limit(50)
  .lean();
lean() can be useful when you only need plain objects rather than full Mongoose documents.
Don't optimize blindly. Measure first.
27. Avoid blocking the Node.js event loop
Node.js is designed around an event-driven runtime.
A CPU-heavy synchronous operation can block other requests.
Avoid patterns such as:
// Potentially blocks the event loop
while (true) {
  // expensive synchronous work
}
Also be careful with:
- large synchronous JSON processing;
- CPU-heavy image processing;
- expensive encryption operations;
- huge loops;
- synchronous filesystem APIs in request handlers.
For CPU-intensive workloads, consider:
- worker threads;
- separate services;
- background jobs;
- specialized infrastructure.
28. Use background jobs for long-running work
Not every task needs to happen during the HTTP request.
For example:
User request
     ↓
Create job
     ↓
Return response
     ↓
Background worker
     ↓
Send email / process image / generate report
Background jobs are useful for tasks such as:
- sending emails;
- image processing;
- report generation;
- notifications;
- data imports;
- scheduled processing.
Queue systems such as Redis-backed job queues can help when the workload requires them.
29. Add health and readiness endpoints
A health endpoint can help monitoring systems determine whether the API process is responding.
For example:
app.get("/api/health", (req, res) => {
  res.json({
    status: "ok"
  });
});
For production systems, you may also distinguish:
Liveness
"Is the application process alive?"
Readiness
"Is the application ready to serve traffic and access required dependencies?"
For example:
/api/health
/api/ready
A readiness check may verify required dependencies such as the database.
30. Graceful shutdown
Production applications should handle termination signals gracefully.
For example:
const server = app.listen(PORT, () => {
  console.log(`Server listening on ${PORT}`);
});

async function shutdown(signal) {
  console.log(`${signal} received`);

  server.close(() => {
    console.log("HTTP server closed");
    process.exit(0);
  });
}

process.on("SIGTERM", () => shutdown("SIGTERM"));
process.on("SIGINT", () => shutdown("SIGINT"));
A complete implementation may also close database connections and other resources.
Graceful shutdown is especially important when applications run behind load balancers or inside containers.
31. Document your API
API documentation helps frontend developers, teammates, and external consumers understand how the backend works.
OpenAPI is a common standard for describing HTTP APIs.
A documented endpoint should communicate:
- HTTP method;
- URL;
- parameters;
- request body;
- authentication;
- response format;
- possible errors.
For example:
POST /api/users

Request:
{
  "name": "John",
  "email": "[email protected]"
}

Response:
201 Created
{
  "data": {
    "id": "123",
    "name": "John"
  }
}
Good documentation reduces unnecessary communication and integration errors.
32. Test your API
A scalable API should be tested automatically.
Useful tools include:
- Vitest
- Jest
- Supertest
- Playwright
- API testing tools such as Postman for manual testing
A basic integration test might look like:
import request from "supertest";
import app from "../src/app.js";

describe("GET /api/health", () => {
  it("returns a healthy response", async () => {
    const response = await request(app)
      .get("/api/health");

    expect(response.status).toBe(200);
    expect(response.body.status).toBe("ok");
  });
});
Test important behavior rather than trying to achieve a high coverage percentage without meaningful assertions.
33. Separate development and production configuration
Different environments have different requirements.
For example:
Development
├─ verbose logging
├─ local database
├─ development frontend
└─ debugging enabled

Production
├─ structured logging
├─ production database
├─ strict CORS
├─ monitoring
└─ secure secrets
Don't accidentally deploy development configuration to production.
34. Use CI/CD
A CI pipeline can automatically verify changes before they reach production.
For example:
name: API CI

on:
  push:
  pull_request:

jobs:
  test:
    runs-on: ubuntu-latest

    steps:
      - uses: actions/checkout@v4

      - name: Use Node.js
        uses: actions/setup-node@v4
        with:
          node-version: 22
          cache: npm

      - run: npm ci
      - run: npm run lint
      - run: npm test
A production pipeline can then add:
Lint
  ↓
Test
  ↓
Build
  ↓
Security checks
  ↓
Deploy
  ↓
Health check
35. Monitor production APIs
Deployment isn't the end of backend development.
Monitor:
- request latency;
- HTTP error rates;
- database latency;
- CPU usage;
- memory usage;
- event-loop performance;
- throughput;
- uptime;
- background job failures.
Tools such as Sentry, Prometheus, Grafana, Datadog, and hosted monitoring services can help depending on the project's requirements.
The important thing is to know when the API is unhealthy before users have to report it.
36. Version your API when necessary
API contracts can evolve over time.
For example:
/api/v1/users
/api/v1/jobs
Later:
/api/v2/users
/api/v2/jobs
Don't introduce versions automatically for every small change.
Use versioning when a breaking change requires clients to migrate.
For non-breaking changes, backwards-compatible evolution is often simpler.
37. Design for backwards compatibility
Once clients depend on your API, changing response structures can break applications.
For example, changing:
{
  "name": "John"
}
to:
{
  "fullName": "John"
}
may break existing clients.
When possible:
- add new fields instead of renaming existing ones;
- deprecate old fields gradually;
- document breaking changes;
- provide migration guidance;
- version the API when necessary.
Stable contracts are a major part of scalable API design.
38. A practical Express API architecture
A production API can be organized like this:
Client
  ↓
Reverse Proxy / Load Balancer
  ↓
Express API
  │
  ├─ Security Middleware
  ├─ Rate Limiting
  ├─ Authentication
  ├─ Validation
  ├─ Routes
  ├─ Controllers
  └─ Services
        │
        ├─ MongoDB
        ├─ Cache
        ├─ External APIs
        └─ Background Jobs
Around the application:
Logging
Monitoring
Testing
CI/CD
Secrets
Backups
Scalability comes from the entire system, not simply from Express itself.
39. Common backend mistakes
1. Putting everything in one file
A small prototype can start this way, but large applications quickly become difficult to maintain.
2. Trusting request data
Every request should be treated as untrusted input.
3. Returning database errors directly
Internal errors can expose implementation details.
4. Storing plaintext passwords
Always use secure password hashing.
5. Using unrestricted CORS
Allow only the origins your application actually needs.
6. No rate limiting
Public authentication and sensitive endpoints can become abuse targets.
7. No database indexes
Important queries should be analyzed and indexed appropriately.
8. Doing CPU-heavy work inside request handlers
Move expensive work to workers or background jobs when appropriate.
9. No monitoring
You cannot reliably maintain a production system you cannot observe.
10. No automated tests
Manual testing alone becomes increasingly difficult as the API grows.
40. Production checklist
Before deploying a Node.js + Express API, review:
- Supported Node.js LTS version selected.
- Environment variables configured securely.
- Database credentials kept out of source code.
- Express security middleware configured.
- CORS restricted appropriately.
- Request body limits configured.
- Rate limiting enabled for sensitive endpoints.
- Input validation implemented.
- Authentication implemented securely.
- Authorization enforced on protected resources.
- Passwords hashed securely.
- API errors handled centrally.
- Sensitive error details hidden in production.
- Database queries reviewed and indexed.
- Pagination implemented for large collections.
- File uploads restricted where applicable.
- Structured logging configured.
- Health/readiness checks implemented.
- Graceful shutdown implemented.
- Automated tests added.
- CI pipeline configured.
- API documentation maintained.
- Monitoring and error tracking configured.
- Database backups configured.
- Recovery procedures documented.
- Production deployment tested.
41. A scalable API development workflow
A practical backend workflow can look like:
Define API requirements
        ↓
Design data model
        ↓
Define API contract
        ↓
Create Express application
        ↓
Add validation
        ↓
Implement authentication
        ↓
Build services/controllers
        ↓
Add database indexes
        ↓
Write tests
        ↓
Add logging + monitoring
        ↓
Run CI
        ↓
Deploy
        ↓
Monitor real workloads
        ↓
Optimize based on measurements
This approach helps avoid adding complexity before the application actually needs it.
Final thoughts
Building a scalable Node.js and Express API is not simply about handling more HTTP requests.
A maintainable backend needs clear architecture, reliable data access, secure authentication, strong validation, predictable API contracts, centralized error handling, testing, observability, and a deployment strategy that can evolve with the application.
The most important principles are:
- Keep responsibilities separated.
- Validate every untrusted request.
- Authenticate and authorize independently.
- Protect secrets and database credentials.
- Use appropriate database indexes and pagination.
- Avoid blocking the Node.js event loop.
- Move long-running work to background jobs when appropriate.
- Handle errors centrally.
- Test important API behavior automatically.
- Document stable API contracts.
- Monitor production instead of guessing about performance.
- Scale based on measured bottlenecks.
Start with a simple architecture, keep the boundaries clear, and introduce additional infrastructure only when the application's requirements justify it.
A scalable API is ultimately one that remains secure, observable, testable, maintainable, and predictable as the application and its workload grow.
Found this helpful?
Follow me for more development insights and tutorials